Introduction
This collaboration launches a heavyweight cross-platform function integration solution: without switching platforms, Hootsuite users can directly download and install the KAWO app within the Hootsuite product, and after logging in, they can seamlessly access KAWO’s core functions. This enables users to easily achieve one-stop integration, viewing, and management of overseas and domestic social media data.
This help document will break down the complete process for you in detail, from installing the KAWO app and logging into your account to using its features. It will help you quickly get started with this convenient function and fully leverage the collaborative value of cross-platform social media operations.
Installation Guide
Step 1: Contact the KAWO team to activate the Hootsuite integrated app permission
Before installing the app within Hootsuite, please first contact the official KAWO team to apply for activating the Hootsuite integrated app permission for your brand account or the entire organization. Only after the permission is activated can you proceed with the subsequent app installation and usage operations.
Step 2: Search for the KAWO App in Hootsuite
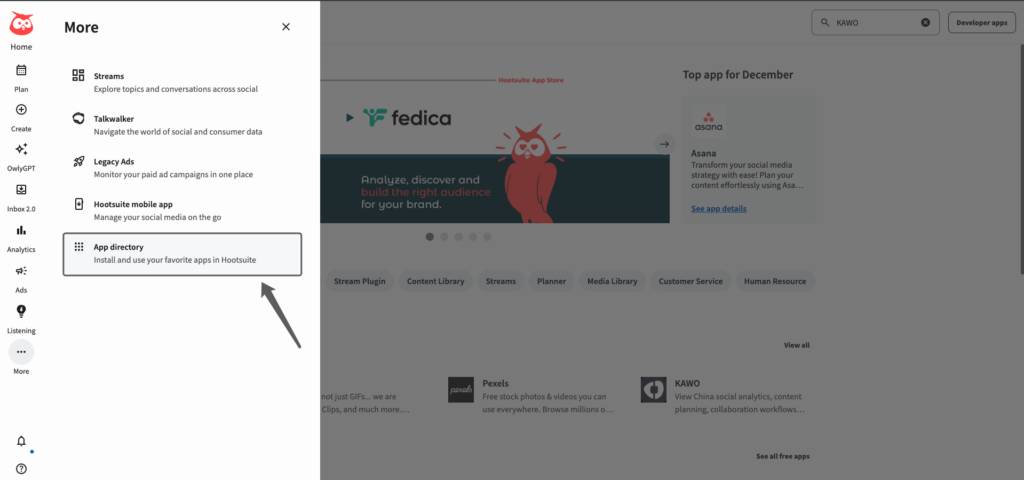
1.Open the Hootsuite platform and locate App Directory in the left navigation bar (you can find it by clicking the “More” option);
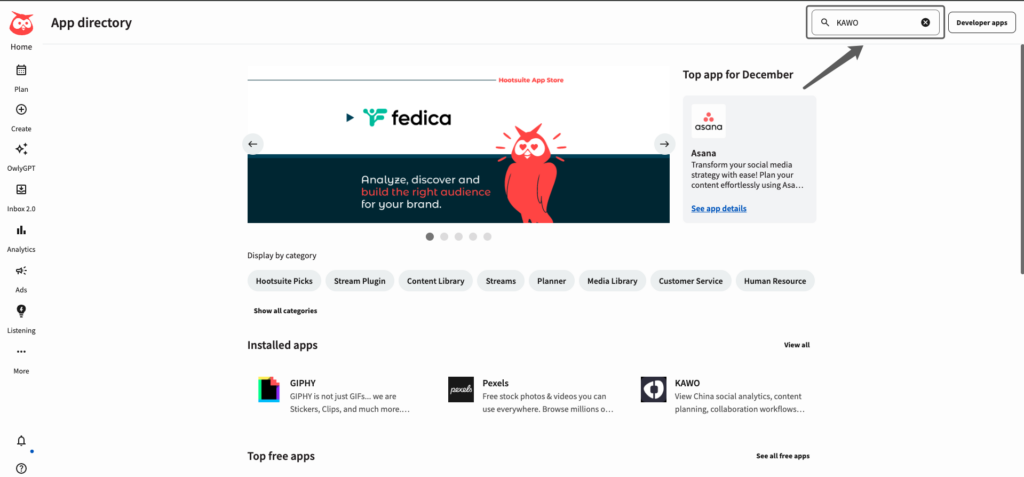
2.After accessing the App Directory, enter “KAWO” directly in the search box to quickly locate the KAWO application.
Step 3: Install the KAWO App
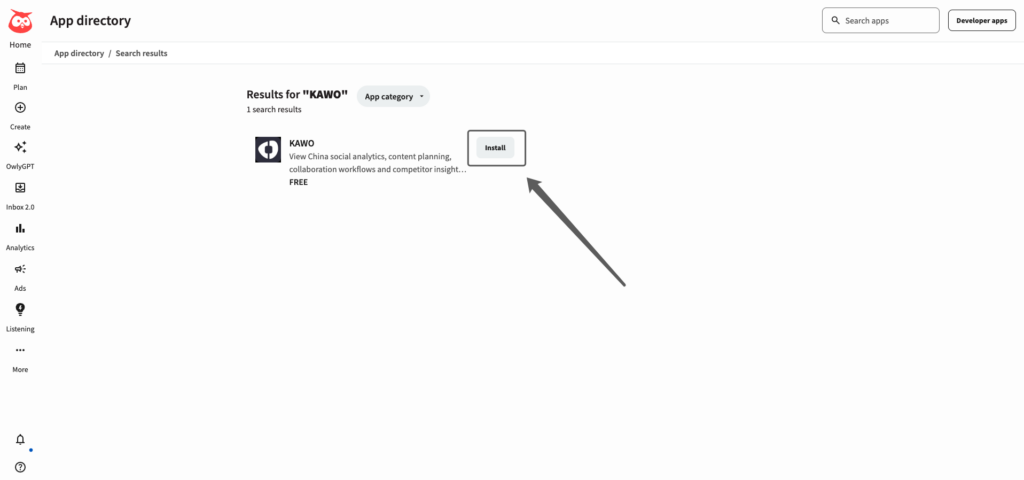
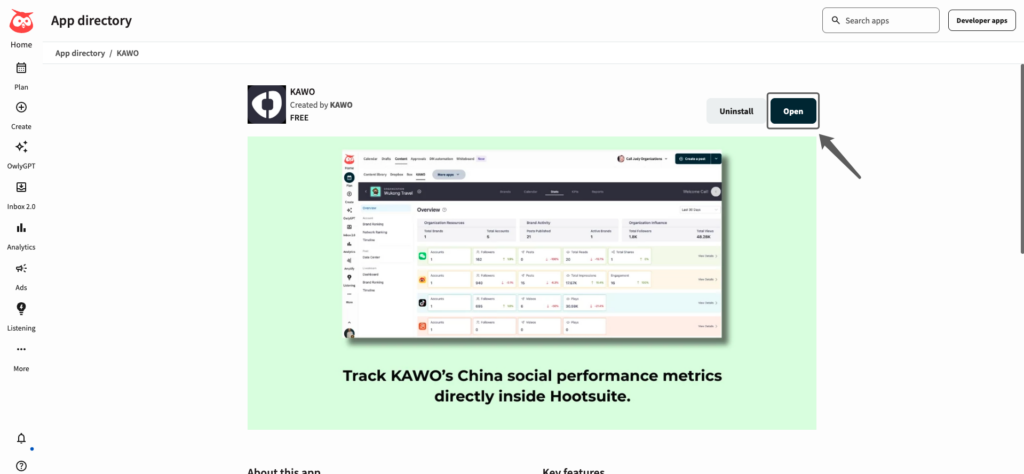
After locating the KAWO app, click the “Install” button on the app card. The system will complete the installation automatically. Once the installation is successful, click “Open” to start using the KAWO app.
Step 4: Log In to KAWO to Start Using It
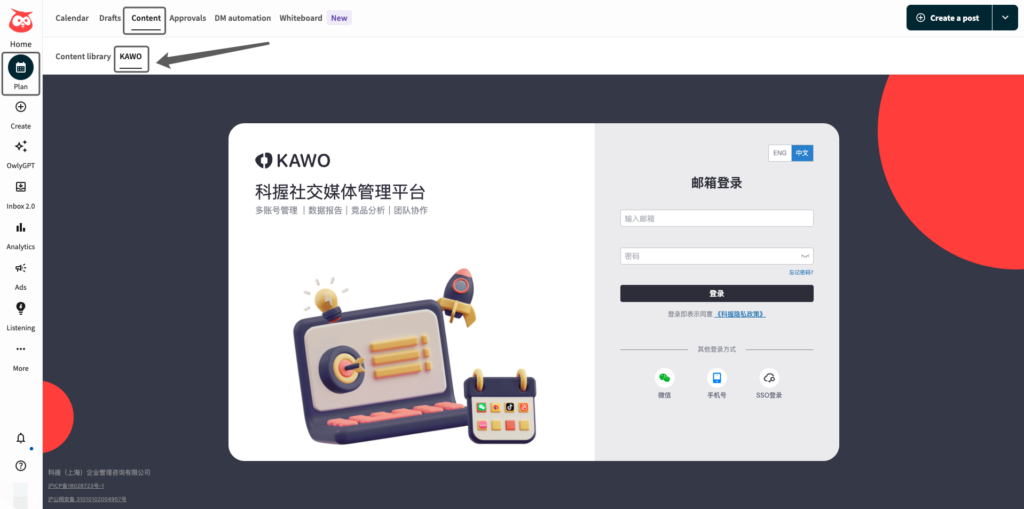
1.After successful installation, you can also navigate to Plan > Content in sequence via the left navigation bar, where you will find the KAWO app entry in the corresponding menu.
2.Click on the KAWO tab. On the login screen, enter your KAWO account and password to complete the login. After a successful login, you can directly use KAWO within Hootsuite.
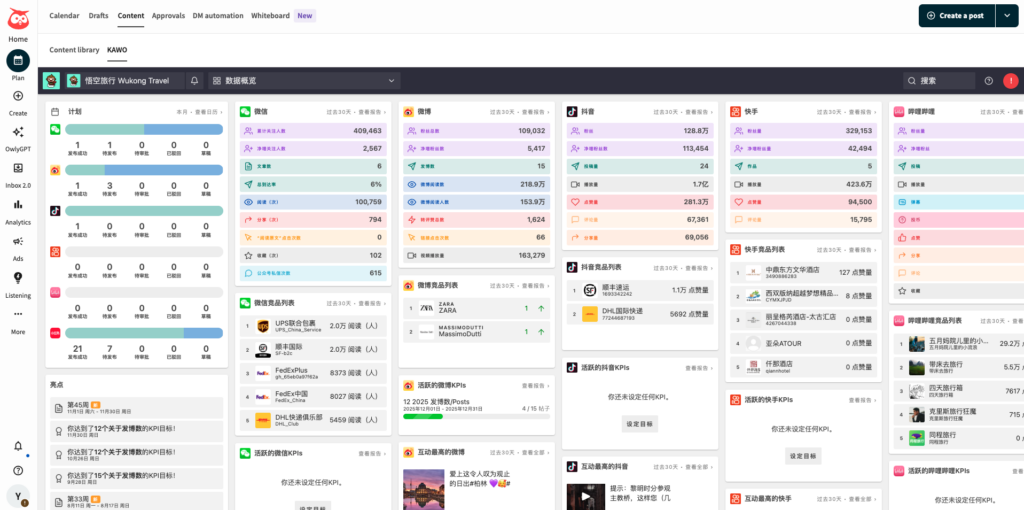
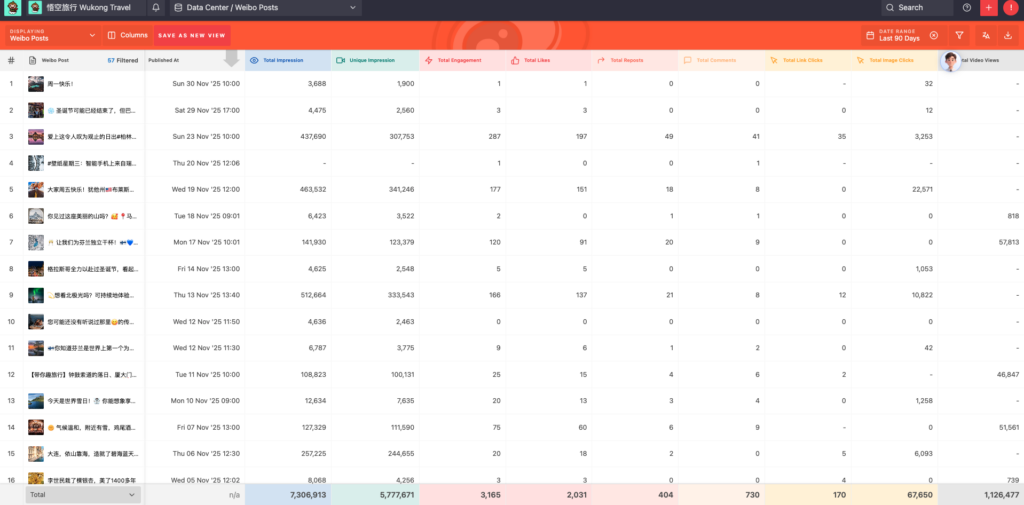
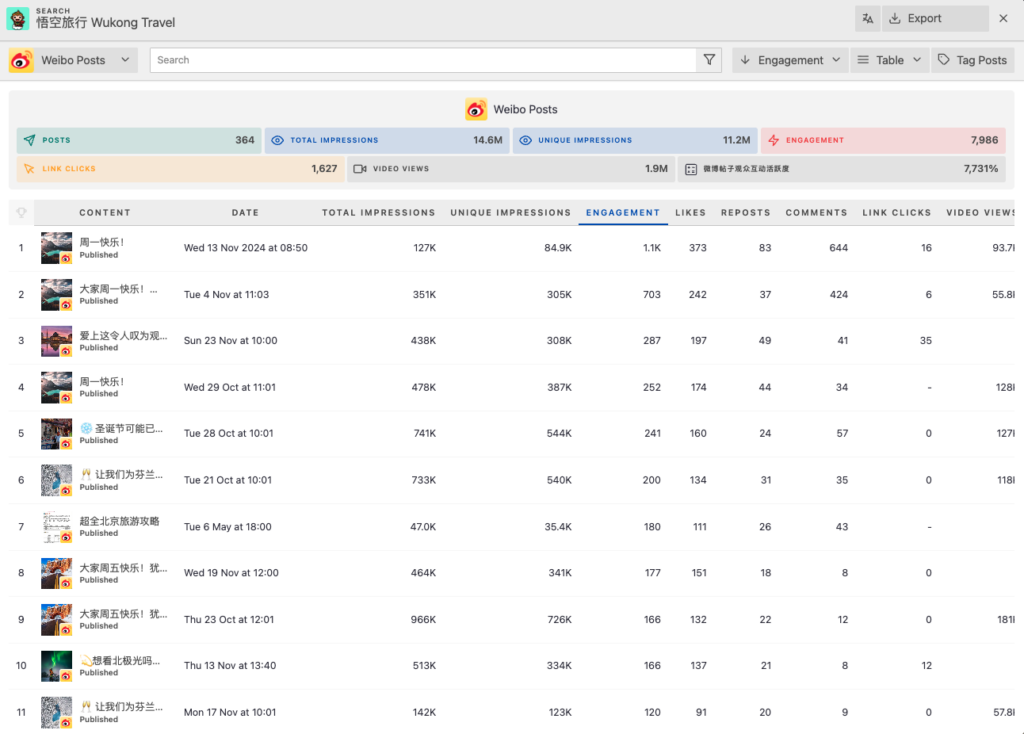
Notes: When using the KAWO app in Hootsuite, you can only perform data viewing and downloading operations. The functional permissions you have in this app will be fully consistent with your user permissions on the KAWO native platform, ensuring the uniformity of permission management.
So far, the entire process of activating, installing, and logging into the KAWO × Hootsuite integrated app has been fully covered. With this feature, you can efficiently integrate cross-platform social media data and significantly improve the efficiency of your operation and management.
If you encounter any issues during the operation, you can contact the official KAWO customer service team or your dedicated account manager at any time. We will provide you with timely technical support and guidance.
Thank you for choosing the strategic collaboration solution between KAWO and Hootsuite. We look forward to empowering and enhancing the efficiency of your social media operations!